| Before  | After  |
Saturday morning I jumped out of bed, grabbed my notebook, and raced to the studio. While I was there, I began to think about just how I would edit a series of photographs I had taken the week previous. I had a concept in mind, heavily borrowed from Mason Photography, but I was still struggling on what exactly I would do. The nicest thing about Photoshop is that it doesn't change while you are away. I began to figure out the logistics. Once settled on a basic plan of action, I let it fester.
The thing about being an artist is that we are impulsive. I could not wait to sit down and pump out this edit. That is a huge issue for me. Sometimes art has to sit and develop before it can be created. I'm glad I let this sit, because I changed several details that I feel add to the image. Finally I arrived home, queued up Photoshop and Lightroom, and let the editing begin.
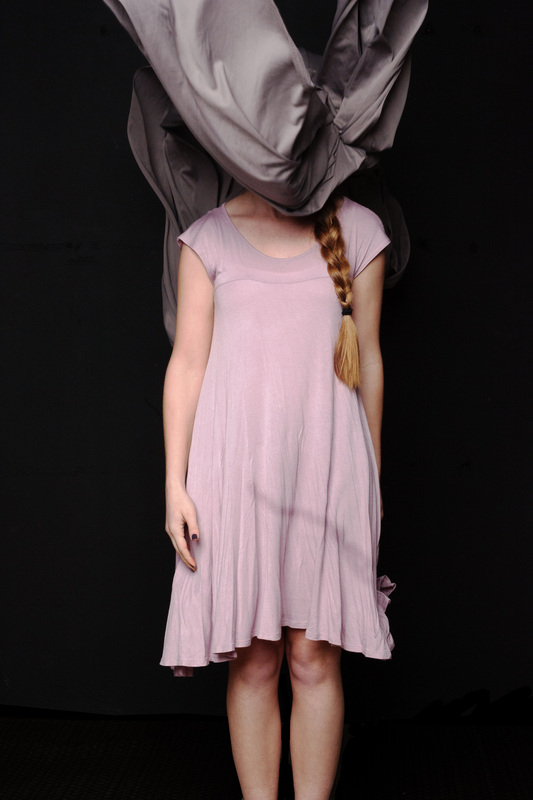
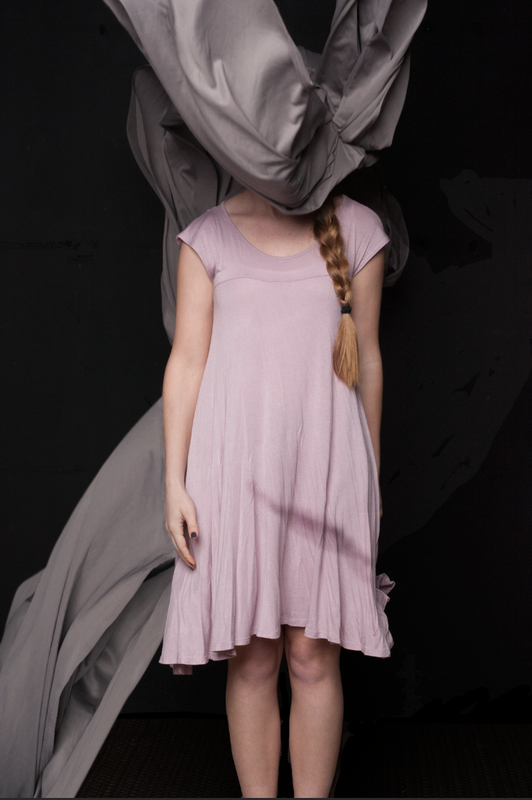
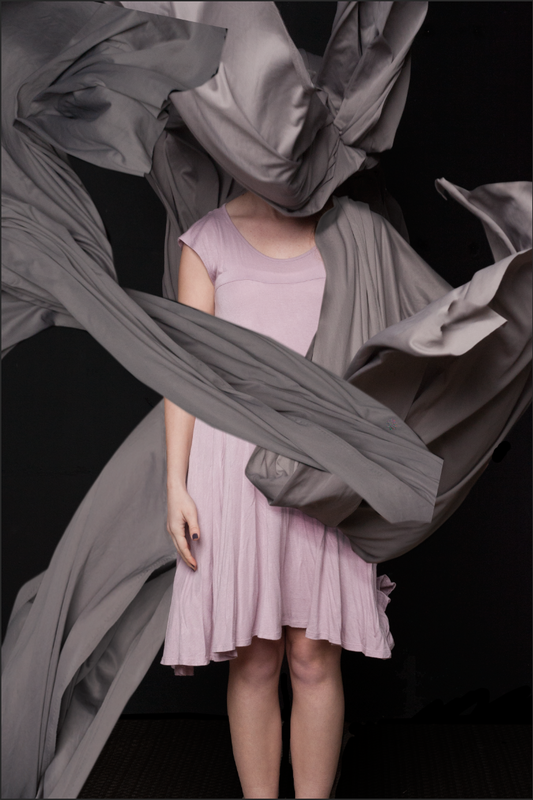
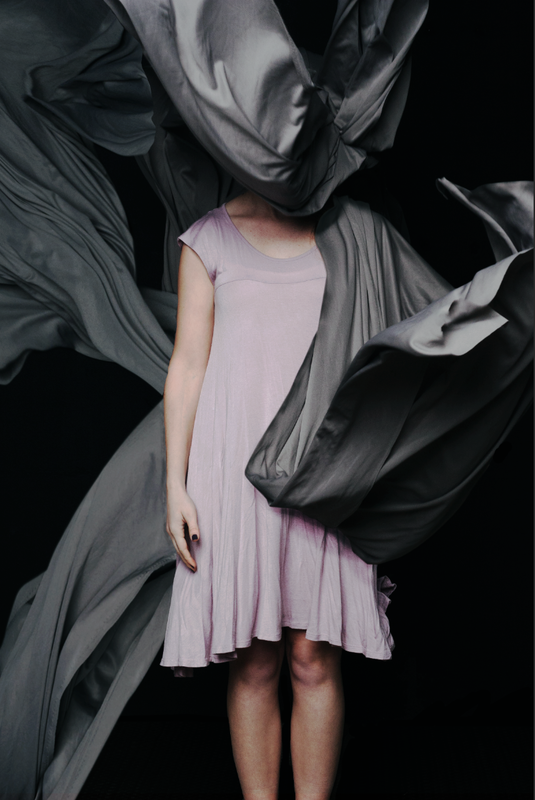
The image you see above on the left is my background image, straight out of the camera, no editing. Altogether, I used 4 images with the sheet thrown wildly each time. I didn't use a tripod, but I think for ease of editing it might have been nice. This tutorial assumes that you understand layer masks, if you don't, queue up some youtube videos. I found this and this very helpful when I first learned. I will now walk you though the basics of what I did, why I did it, and how to do it yourself.
The image you see above on the left is my background image, straight out of the camera, no editing. Altogether, I used 4 images with the sheet thrown wildly each time. I didn't use a tripod, but I think for ease of editing it might have been nice. This tutorial assumes that you understand layer masks, if you don't, queue up some youtube videos. I found this and this very helpful when I first learned. I will now walk you though the basics of what I did, why I did it, and how to do it yourself.
Step 1:
Alright, if you will be following along right-click the 4 images in the slideshow above and download them. Open all 4 in Adobe Photoshop and begin on the first as your background image.
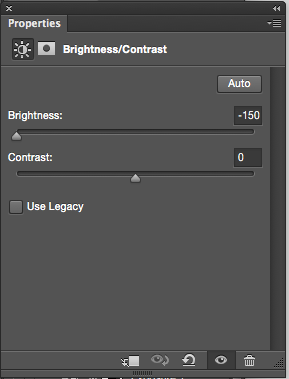
Notice that behind the models legs there is a patterned floor. This will be very difficult to work with later if not fixed now, so I created a new "brightness/contrast" layer and selected the two areas on either side of her legs with a layer mask. I then brought the brightness of the selected areas down all the way to -150 and I left the contrast at 0. I then set the layer to "multiply" in the layer menu.
This layer will be directly above your base image the entire time. I would suggest grouping them, or even merging the two layers. By merging them, all of the information in those areas is lost; whereas by grouping them, you preserve that information should you choose to leave the floor in later.
  |  |
Step 2:
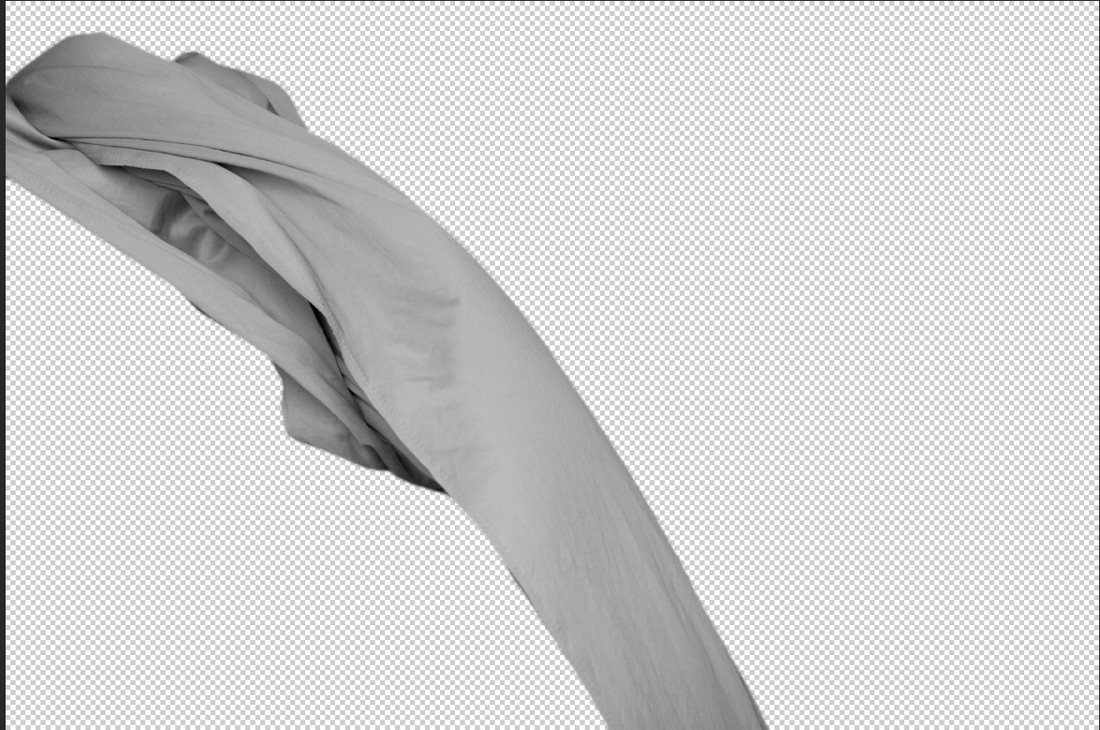
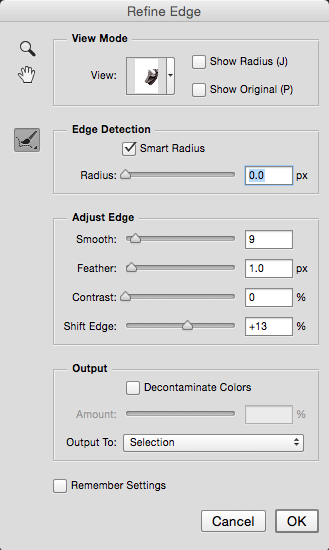
Open the window with the second image. Use the polygonal lasso tool (hit L on the keyboard) and select around the cloth. Its important to be very precise here, because if you aren't the sheet will look fake. Once selected around the entire area, click on refine edge and adjust the smooth, feather, and shift edge until it is selected to your standards. On a mac press cmd+j to bring this selection to a new layer. Hide the background layer.

 |   |
Step 3:
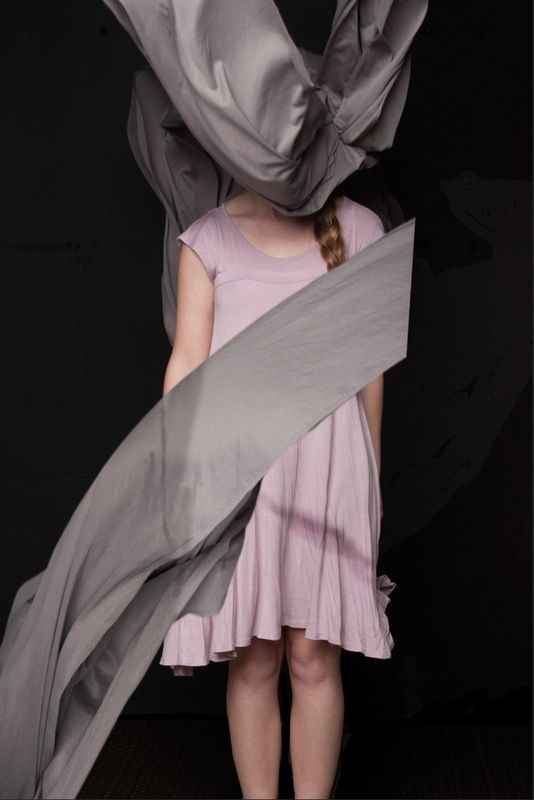
Once this selection is in a new layer, copy it over to the background image. You can then decide where to place it, and how it will best enhance the image. I decided to rotate the selection 90º counter-clockwise and place it across the models body starting at her left shoulder, and ending at the bottom left of the canvas.
Create a layer mask by selecting the outline of the right side of the model and her dress. Put this selection on the layer mask of the sheet we brought in. Use black paintbrush to mask the parts of the sheet that would be covering the models body. I then used the "burn" tool to darken the sheet so that it matched sheet above.
Create a layer mask by selecting the outline of the right side of the model and her dress. Put this selection on the layer mask of the sheet we brought in. Use black paintbrush to mask the parts of the sheet that would be covering the models body. I then used the "burn" tool to darken the sheet so that it matched sheet above.
 |  |
Step 4:
Following the same basic concepts as step 2, I opened the 3rd image and selected the sheet with the polygonal lasso tool. I then used the refine edge to clean up my selection. I noticed that I had cut into the actual fabric so in the refine edge menu I shifted the edge. I then pressed cmd+j to bring my selection to a new layer. After this I hid the background layer.
 |   |
Step 5:
This is where things become a tad more difficult. The selection from the previous step must be copied to your background image. Once copied, place it in about the correct position on the models left shoulder. Use the liquify tool to cover the models hair and make it sit more naturally. You will then duplicate the layer your selection is in. The lower layer will become the shadow of the sheet.
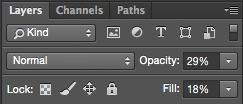
To create the shadow effect select the lower layer, and offset it so that it could be a shadow. You will then change the opacity of the layer to somewhere between 15-20% and the fill from 25-35%. This makes the layer less opaque and makes it seem like a shadow. Chang the layer style to linear burn. This darkens the selection. Once this has been completed, use the burn tool to match the shadows on the models neck, and on the edges of the sheet. This is done to allow the selection to blend into the background image.
To create the shadow effect select the lower layer, and offset it so that it could be a shadow. You will then change the opacity of the layer to somewhere between 15-20% and the fill from 25-35%. This makes the layer less opaque and makes it seem like a shadow. Chang the layer style to linear burn. This darkens the selection. Once this has been completed, use the burn tool to match the shadows on the models neck, and on the edges of the sheet. This is done to allow the selection to blend into the background image.
 |   |
Step 6:
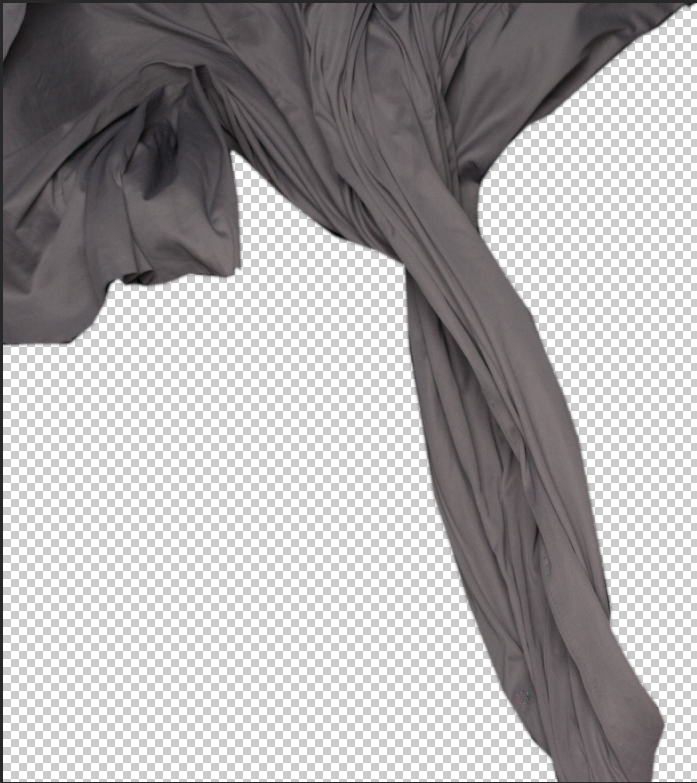
Referring back to step 2, you will open the 4th image in photoshop. Create a selection around the sheet, refine the edge, and use cmd+j to copy it to a new layer. Hide the background layer
 |  |
Step 7:
Copy your selection to the background image and place it where it fits best. I chose the top left of the image because it felt empty. Use the liquify tool to stretch the image into the corner, then create a layer mask so that the sheet is not covering the models body, or awkwardly intercepting the sheet above her head.
 |  |
Step 8:
After creating several adjustment layers, including curves, vibrance, contrast, and color balance, I still felt that the image was too "warm."
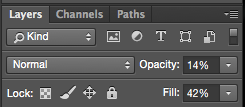
In order to solve this problem create a new blank layer. Fill this layer with a solid color. I chose a blue because I wanted the image to be cooler.
In order to solve this problem create a new blank layer. Fill this layer with a solid color. I chose a blue because I wanted the image to be cooler.
 | 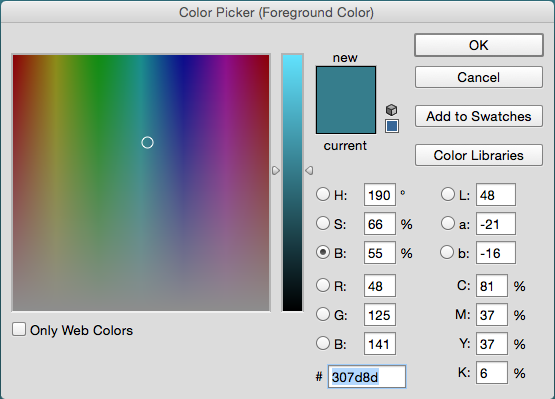 |
Adjust the opacity of this layer to somewhere between 10-20% and the fill between 40-50%. This gives the entire image a very slight blue hue which cools it.
 |   |
Conclusion:
In this post you learned how to create a composite image, strengthened your skills with layer masks, and enhanced your proficiency with Photoshop. Feel free to share your take on this composite, and practice. I can't stress the practice bit enough. This technique is quite easy to try yourself, and I encourage all of you to try this concept. Thank you for reading and participating!
© 2015 Keenan Baird
 RSS Feed
